

The purpose of the automatic balanced exposure algorithm is to ensure that the view from all the lenses are as matched to one another as possible in terms of exposure and white balance. This is important when the views from each lens are stitched together to ensure a smooth transition from view-to-view. We use the bottom three lenses to determine the suitable exposure and white balance for a given scene. The top lens typically records sky, or ceilings etc. where the source of light for the rest of scene originates. Hence, it is not used to measure these scene metrics as it tends to skew the values i.e. properly exposing the sky tends to make the surrounding lens views much darker. Once the algorithm has determined the ideal value, it updates the settings in all four views. The camera continuously samples the scene and adapts when it detects changes in the exposure and white balance of the scene. The sampling and update rate have been set to reduce flickering that may occur during rapid scene changes. This adaptation process is most noticeable during a live preview or video capture. During these video events, you may notice a single dark or light section in the bubl you capture/view, as shown in Figure 1. This is due to subtle adjustments made by individual views that have not been propagated to the rest of the views.
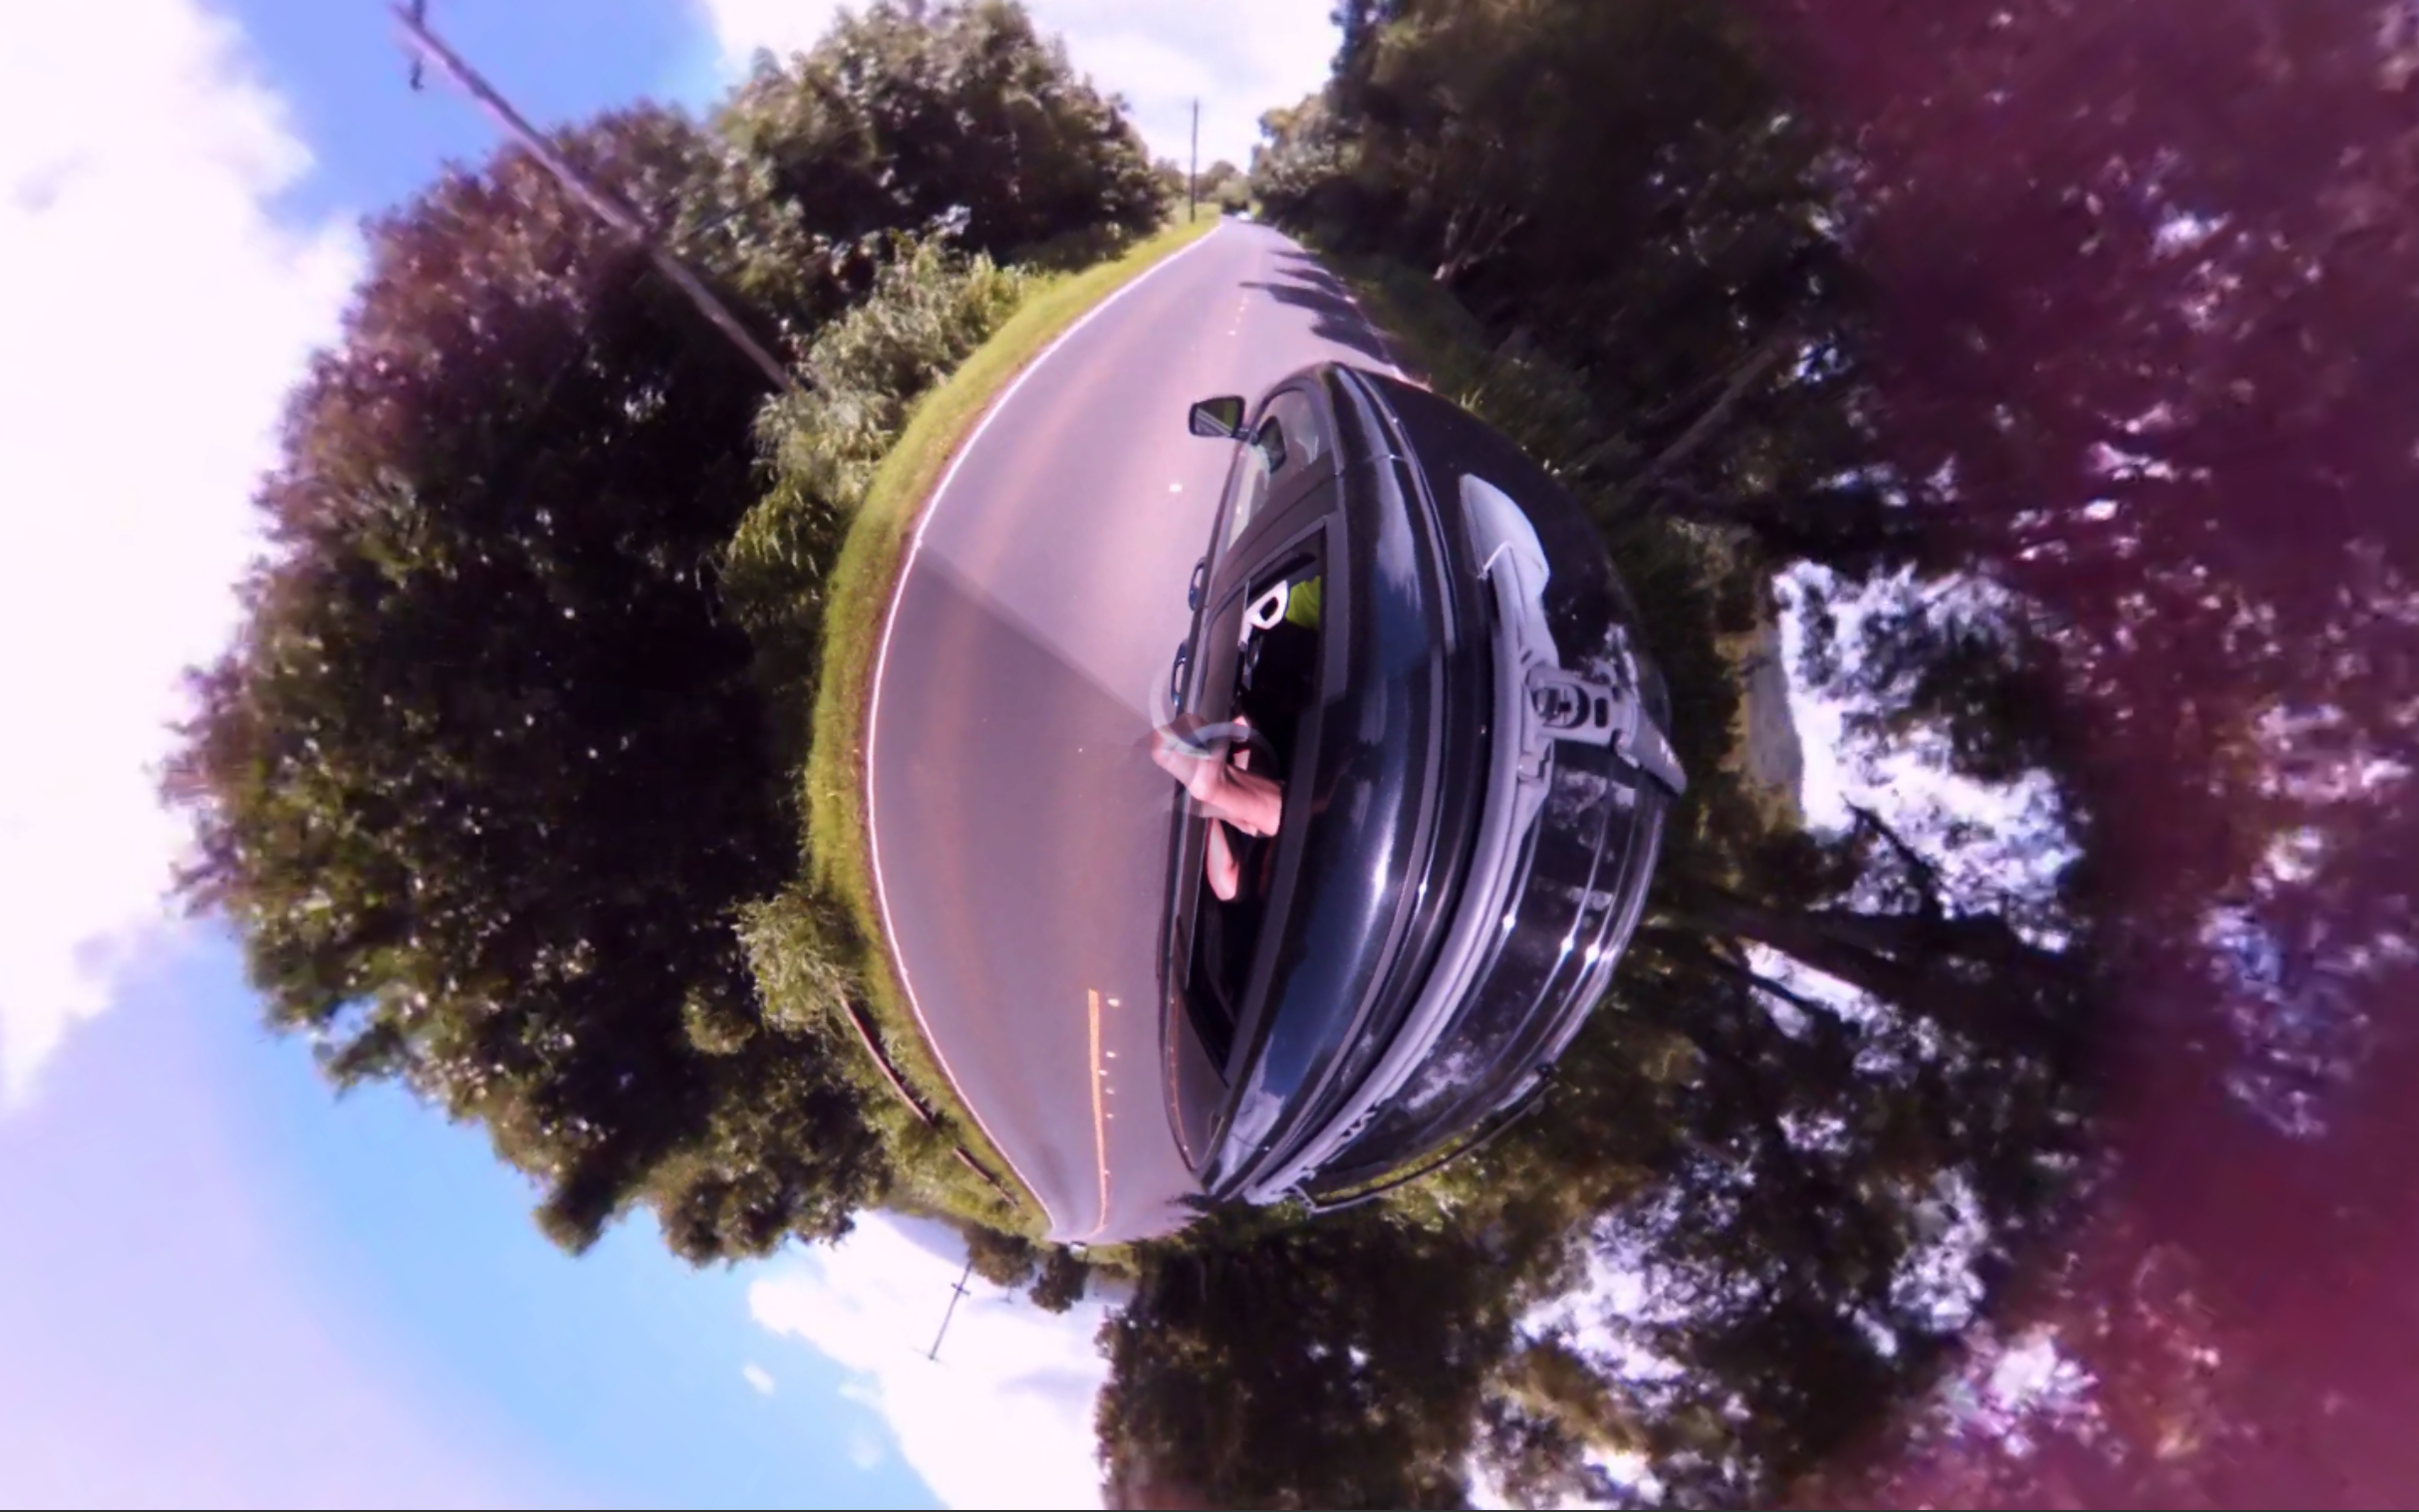
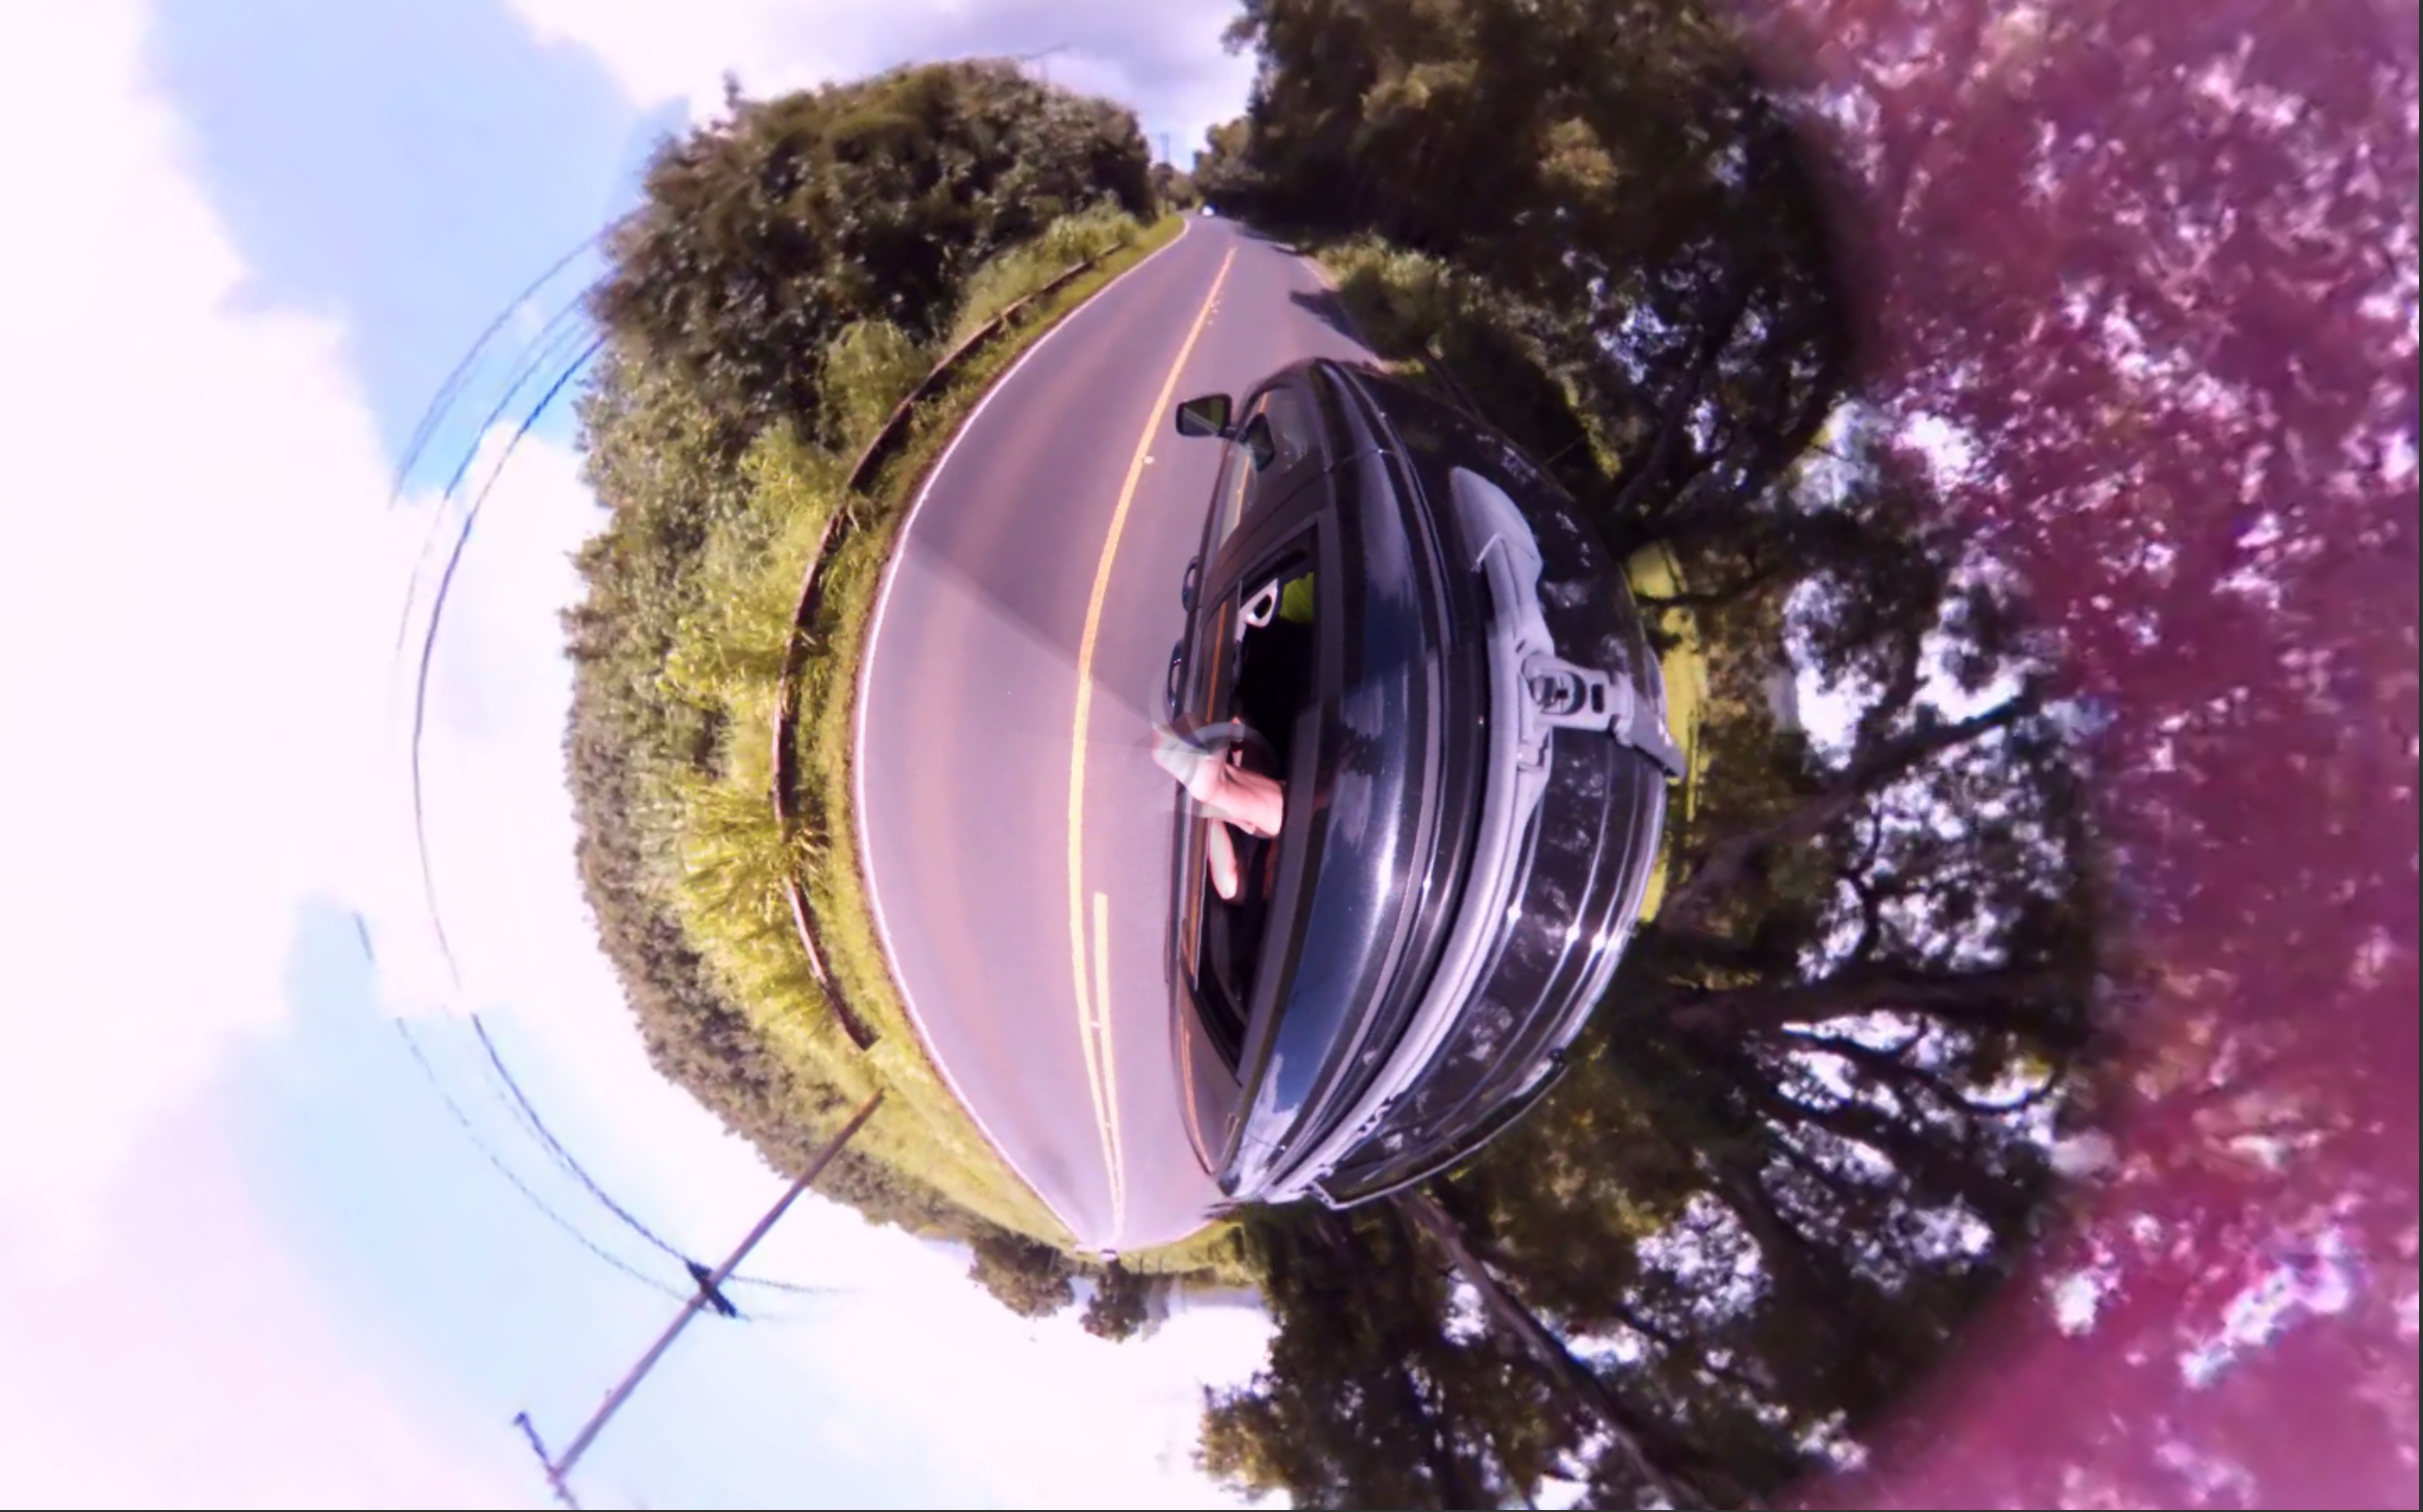
Figure 1: Examples of Bublcam subtle adjustments appearing as (a) darker and (b) lighter patch.
It is possible that this segment may remain for some time because the scene conditions have not changed enough to trigger a readjustment.
NOTE: this type of adjustment occurs for all cameras, but without another view to compare against it is not as noticeable.
The main conundrum when capturing spherical content is that you will most likely capture the illuminating light source of your scene (sun, overhead lights etc.) with the Bublcam's top lens, which is not typically an issue in traditional photography. This makes achieving consistent exposure and white balance across the entire sphere challenging. We have designed the balanced exposure algorithm to function for most general usage cases by trying to strike a balance between capturing as much scene detail, yet preventing saturation. There will always be situations where it may not produce even exposure and colour across the entire scene. Scenes with high dynamic range i.e. shadows and bright areas, are always difficult to deal with. The algorithm, by default, slightly underexposes the scene to prevent saturation of the sky as seen below in Figure 2.
Figure 2: Scene is slightly overexposed leading to saturation of the sky in the bottom three lenses.
Having direct sunlight in the lens view is the most common situation where the balanced exposure algorithm becomes overwhelmed (see Figure 3). The red or blue tinge that you may see is due to glare produced by the lens. Again, this is a phenomenon that affects all cameras, but is especially noticeable when capturing spherical content.
Figure 3: Glare due to sun tints upper lens view.
How to fix the colour/exposure difference between lenses through editing software:
Please see the "Editing the multiplex file" section in Editing Photos/Videos Captured By The Bublcam - Post Production and pay attention to this particular point and tips:
- For colour/exposure correction, use 4 different masks for each quadrant and handle each of them individually. Alternatively, manually use the brush tool to touch up.
- TIP: We recommend using Photoshop for editing the individual quadrants. However, you can also use Gimp (free software) and it offers many of the same features as Photoshop.
- TIP: Using Auto Levels adjustments or using the selection tool to pick the black point and white point can help bring the exposure/colour of each quadrant more in line with each other.
- TIP: You may need to manually adjust the colours in each quadrant to match. One way to do this is explained here (http://blog.patdavid.net/2012/07/getting-around-in-gimp-more-color.html), which involves the Sample Points dialogue box and Curves adjustments.
Comments