

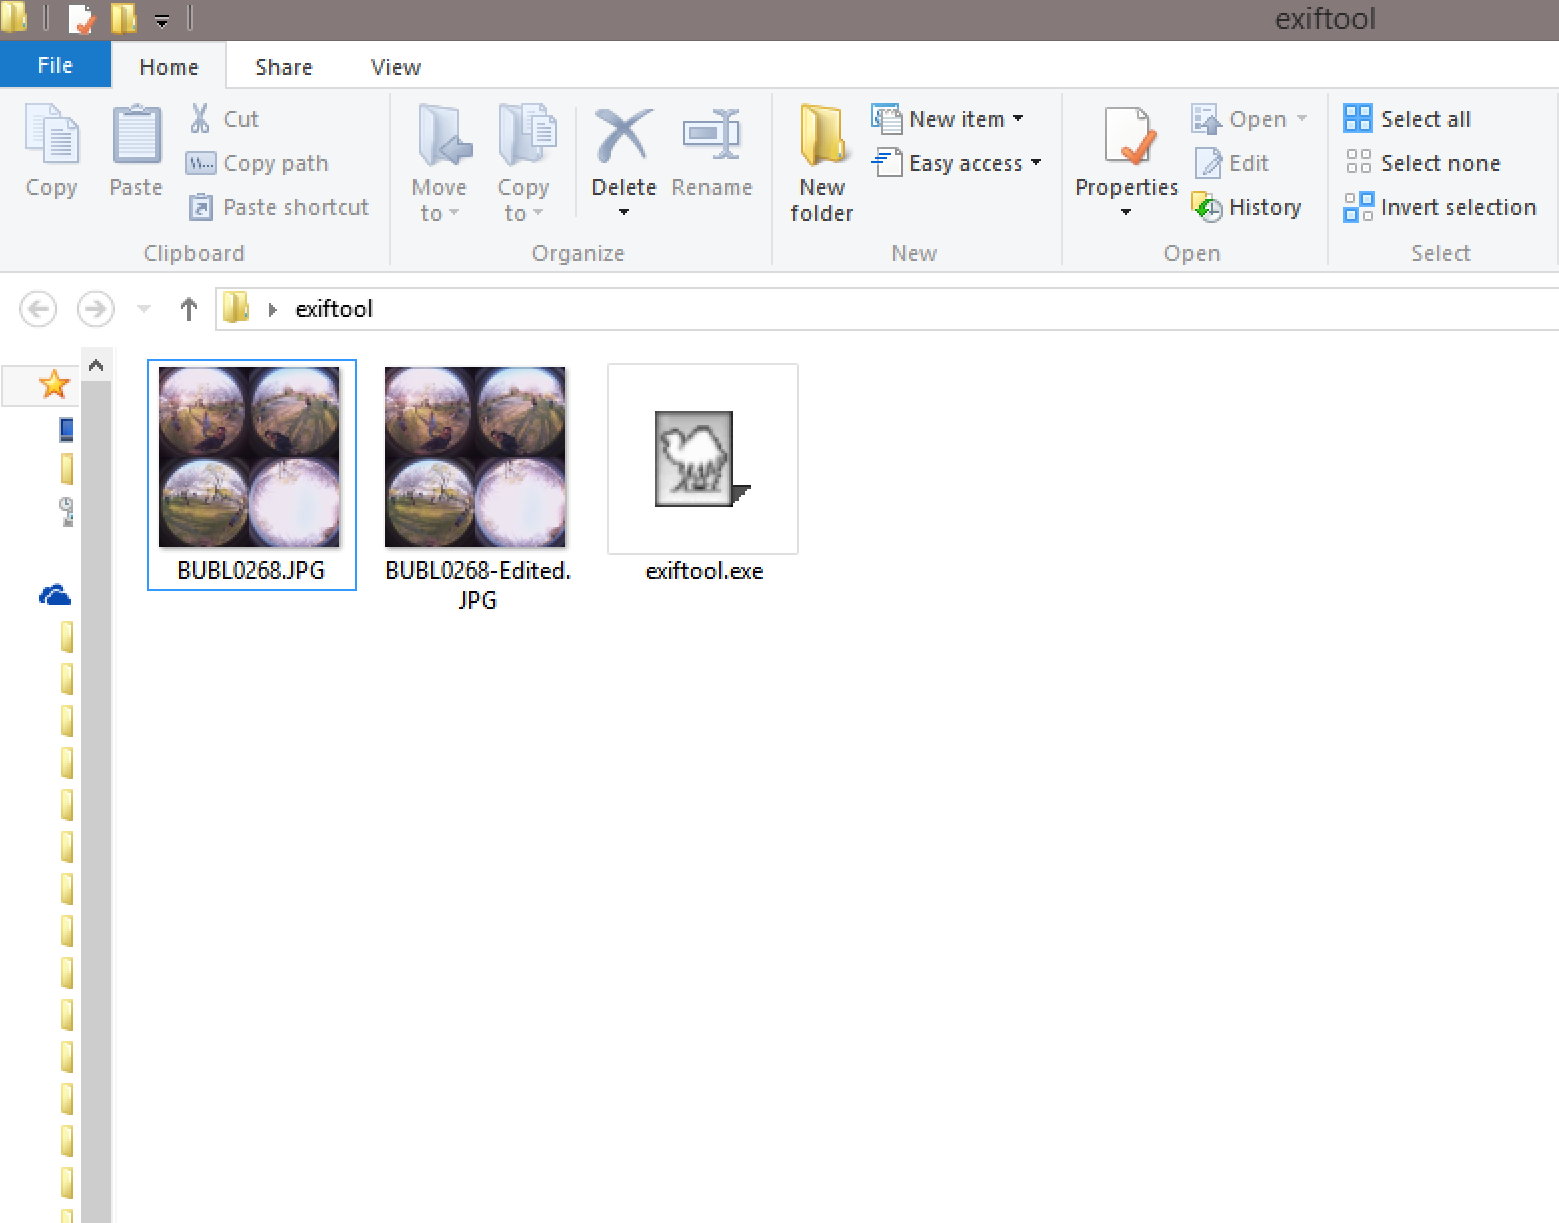
Photos and videos are stored in the Bublcam's onboard microSD card as JPG and MP4 files respectively. You can edit the files as you would any others in that file format using a third party software such as Final Cut, Avid, After Effects, Adobe Premiere and other standard editing softwares.
Editing the multiplex file (raw file from the Bublcam with 4 quadrants representing each lens):
- Import multiplex jpeg to photo editing software as normal. Edit the JPEG as normal, but be careful not to modify the following:
- Do not readjust the picture dimension, the output should be exactly the same dimension as the original.
- The 4 quadrants should stay exactly where they are. Do not crop or pixel shift the quadrants in any way.
- Edit only the content within the circular boundary in each quadrant. Suggest using circular masks over the circles.
- For colour/exposure correction, use 4 different masks for each quadrant and handle each of them individually. Alternatively, manually use the brush tool to touch up.
- TIP: We recommend using Photoshop for editing the individual quadrants. However, you can also use Gimp (free software) and it offers many of the same features as Photoshop.
- TIP: Using Auto Levels adjustments or using the selection tool to pick the black point and white point can help bring the exposure/colour of each quadrant more in line with each other.
- TIP: You may need to manually adjust the colours in each quadrant to match. One way to do this is explained here (http://blog.patdavid.net/2012/07/getting-around-in-gimp-more-color.html), which involves the Sample Points dialogue box and Curves adjustments.
- Adding or removing feature is best done in the central area of the image.
- Export as a copy. Do not overwrite original file.
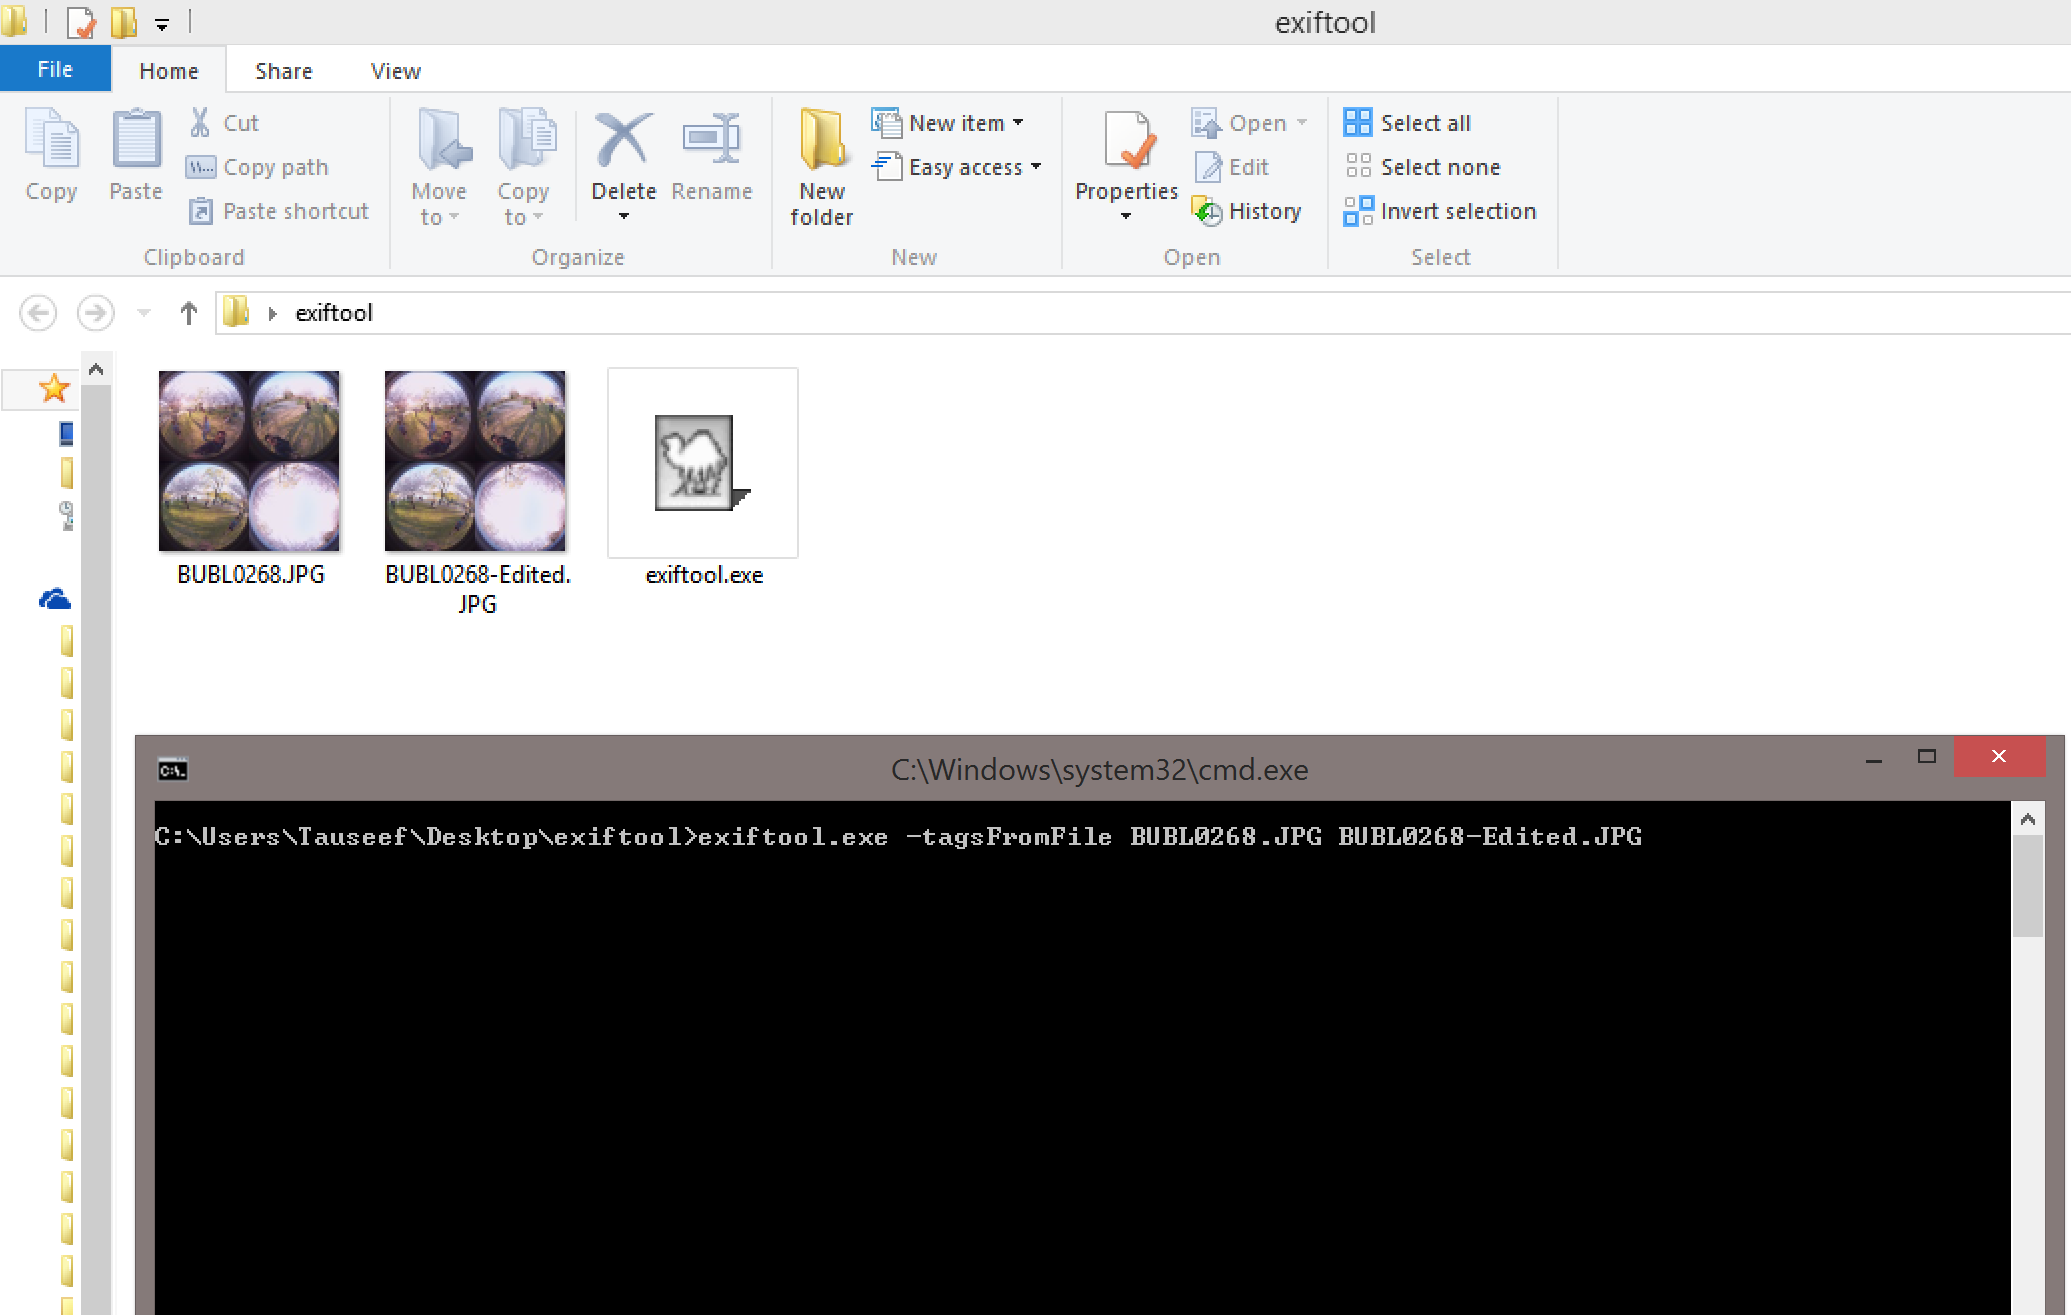
- In a single folder, copy the output file, the original file and the provided exiftool.exe (download here).
- On Windows, on a blank part of the folder press SHIFT and RIGHT-CLICK. Select ‘Open command window here’. On Mac, Open /Applications/Utilities and double click on Terminal. Navigate to the folder containing the files.

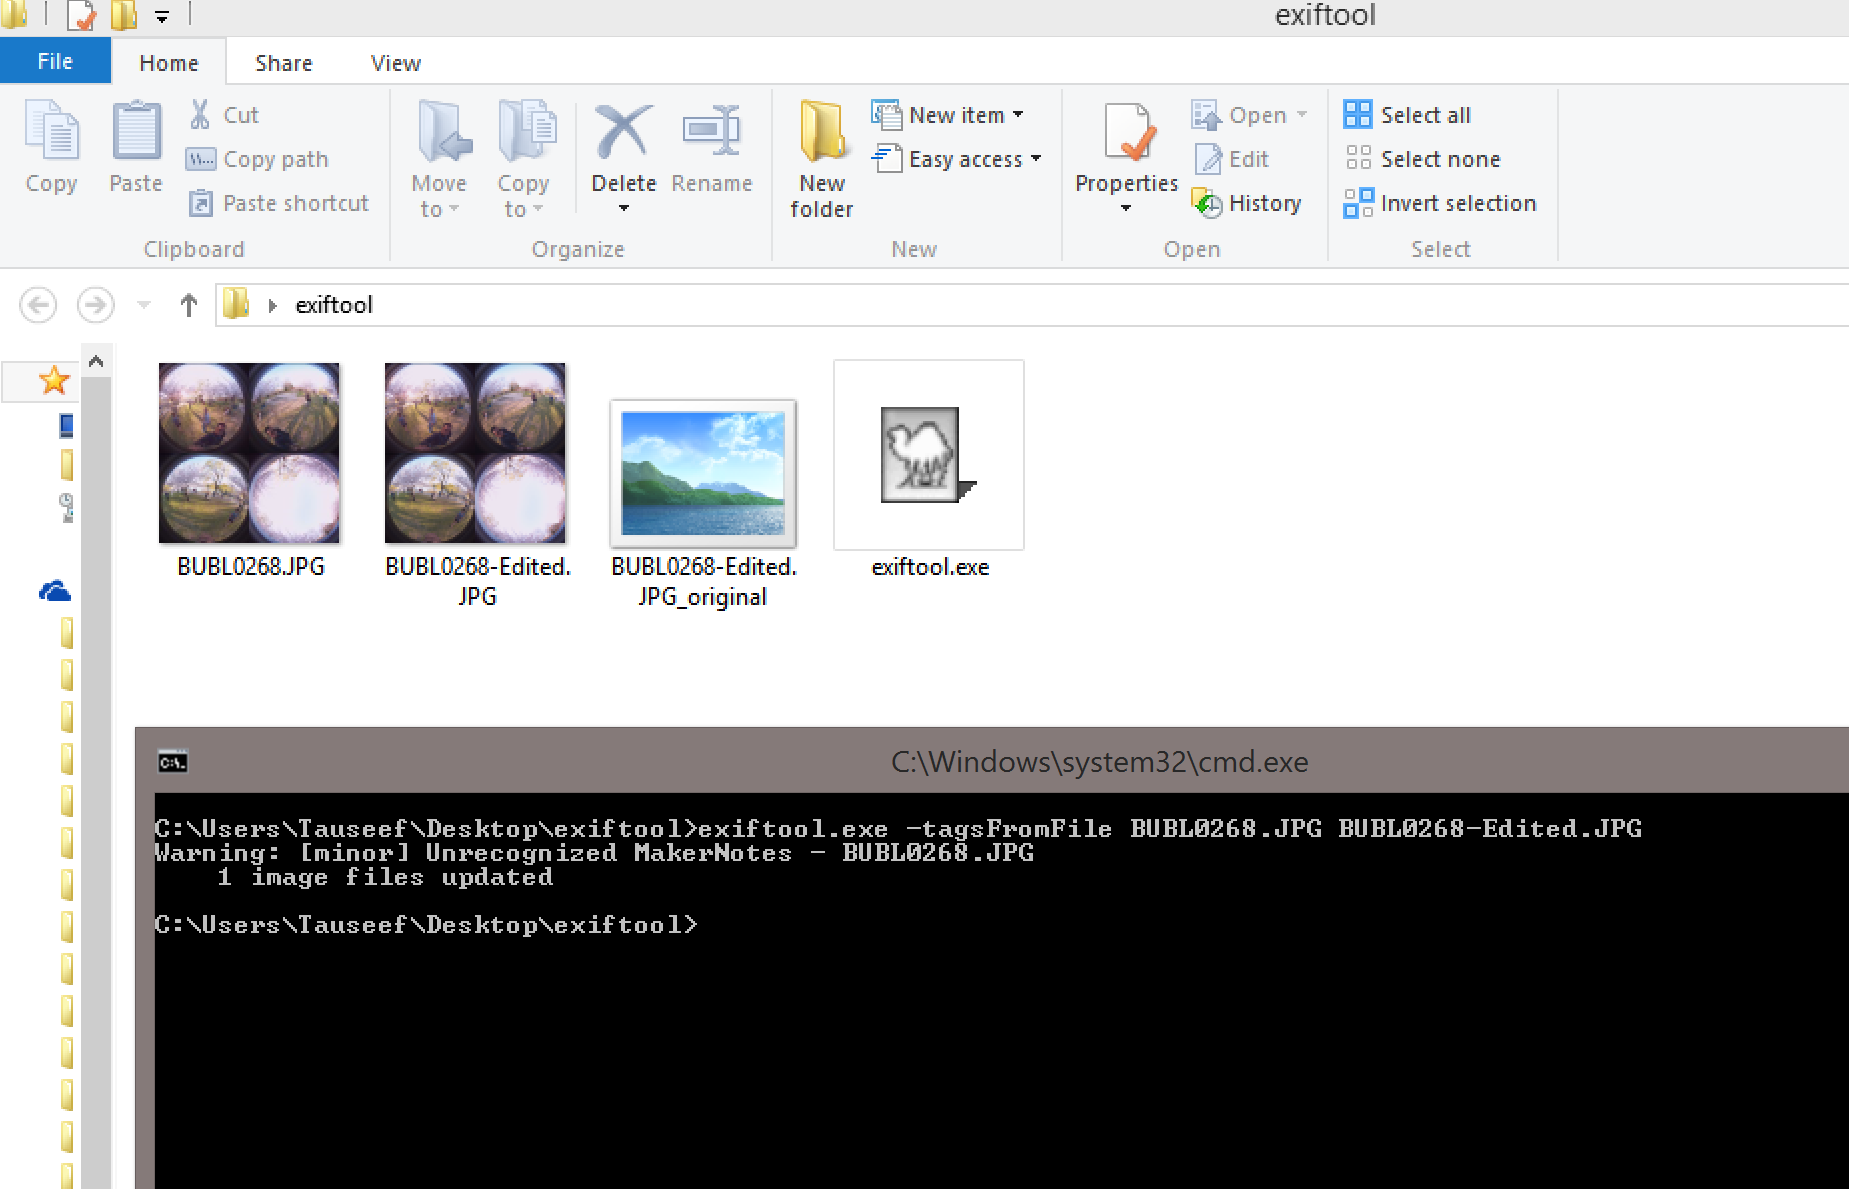
- Type in “exiftool -tagsFromFile source.jpeg destination.jpeg” (change name to corresponding file name).
- Now you can use the destination.jpeg file for upload in www.bubl.io. A new “destination.jpeg_original” is created in case you need to go back a step.
Editing the equirectangular file (available for download after uploading to Bubl Cloud - www.bubl.io):
- See Transfer raw files to desktop and upload to Bubl Cloud (Web) and upload the files you would like to edit.
- Login to your account on www.bubl.io and download the equirectangular image from 'My Media'.
- Import the file into a photo editing software as normal and edit as normal. Just keep the dimension of the output image exactly the same.
- Export jpeg as normal.
- Re-Upload to your account on www.bubl.io.
Important things to consider when editing files:
- Video and photo editing aspect ratio should be maintained at 2:1 equirectangular in order for stitched edges to line up properly when re-uploaded to www.bubl.io.
- Scaling, zooming or changing the exact aspect ratio from photos or videos as originally captured will cause the stitch to be misaligned when re-uploaded to www.bubl.io.
not working :(
Hi @tsfati, if you can let me now which part of the process doesn't seem to be working for you, I should be able to assist you. Let me know :)
Can you create a fiverr gig and do it for me? The process is really complex for non photoshop users.
Is fiver etc supposed to be template?
Hi Jonathan and Sebas, I've asked some of our engineers to contribute more information regarding post-production especially in premiere to this article. In the meantime you can also take a look at the screenshot that I shared on Facebook in the Bublcam users on facebook group here: https://www.facebook.com/groups/bublcamUsers/permalink/541353856016483/?comment_id=541418379343364&reply_comment_id=541420536009815&total_comments=1&comment_tracking=%7B%22tn%22%3A%22R%22%7D, hope that helps!
Can the exported 360 images and videos be used for both Google Street View & Kolor''s AutoPano Tour based experiences?
Is there a fee for the online image/video stitching and hosting services?
If yes, what is the basis of the fees?